Sunday, 13 April 2014

Tiny Bears with eyes, Cats and Figurine

Now that Jennifer (Plushpussycat) got her gifts I can make a quick post about some items I made with wool. I like to keep it short and quick so no more writing. Here are the pictures!!  :)


I really love the way the hair came out.


Some of you might remember about these bears. I posted about them some time ago, they had no eyes and they were a bit skinnier!! I made a few adjustments and this is the final look. I know the bigger one looks more like a mouse than a bear but even with few adjustments his face didn't come out well.

The mini pink bear at only 2cm.....it was pretty difficult to felt as there was no space to enter the needle!!!! ....still, I could have done a better job at cleaning these hair sticking out!! Too late now!! He is gone!!  :)

And here are 2 cats. They are small too. 


I could not forget about this particular........  :)

And a few cake holders made with carton and Washi tape.
Have a nice Sunday you all!!!

Saturday, 12 April 2014

Gifts from Esther - Mi Mundo de Miniatura

Hi and thank you all for the nice comments in the giveaway about the UP house, about my sister. I'm not going to answer all comments in the giveaway but I do read them all, always and I do cherish them.
I recently received some very cute items made by Esther of Mi Mundo de Miniatura. I always love what Esther does because whatever she creates, she uses very simple items that many people would not think of or see them in the same way as she does. Let's say that she has a special eye and imagination when it comes to creating ingenious miniatures! Other than being very talented, she also is very caring and thoughtful. She recently wrote a post about me and obviously she hit me right in the spot! I have to say that I melted and I felt very emotional :) Who wouldn't like such attention?
I really loved the way the items were packed: very professional like if I had received a package from an internet shop :)

As you can see there is a popcorn machine, a microwave, a few cake pans, a broken egg with shell, a waffle with icecream, some cute containers, some very small sparkly butterflies with a tiny sticker on the back side and a lovely note.

I really liked the popcorn machine when she made one in this tutorial on her blog and when I saw it between the items in package I was very happy!! On the sides of the popcorn machine there are 2 lovely containers....another one of those items that only her creative eyes can see already transformed, with all potential to be changed to something useful in the miniature world.

The popcorn are so cute and I loved to see her fingerprints on them...it couldn't get more personal than this!!  :) :) :) 

Here you can see the super cute waffle with icecream and chocolate sauce on top and the broken eggshell with egg. You can find Esther tutorials on how to make all these cute things by clicking on the links. 

How cute is this microwave??? I love it!!! And you might wonder why I put my waffle with icecream in the microvawe....well...I like my icecream ball almost melted on my waffle!! Anyway...isn't this microwave really cute and well made??

And you can open and close the little door and it stays put!! I don't think Esther made a tutorial on this, I couldn't find one by looking at the list on her blog but if you do have a tutorial on your blog Esther, then please, feel free to post the link and slap me on my hands!!  :) 

And these are the super cute cake pans that she made and posted on her blog too. Follow the link for the tutorial.

And last but not least, are these very soft, rubbery cake pans or molds with the super tiny, sparkly and cute butterflies that have a super small sticker on the back side so you can attach them wherever you like! Super cute!! Thank you Esther for everything but most of all for your wonderful messages and friendship that I cherish very much!!!
Tomorrow I can finally post some of the wool felted items that I made.
Until then, have a nice time you all!!!  :)


Sunday, 23 March 2014

Mar Giveaway!! Dolls House

Hi all! As I said in my previous post this giveaway is a dolls house and finally I found and put all pieces together and I have it ready. The house has never been put together and is brand new.
Thank you all for asking about my sister. She is better but because she has MS she will maybe never (unless they find a cure and the medicine today is moving very fast) be well.
Regarding the berries, is actually not as easy as just making a round shape on the tip of the toothpick. I  tried to attach the beads in a round shape but because I needed more layers of  those to build up a ball,  it would become too big and I would loose the scale. The toothpick is not the best because of its shape. You need to fill out the very tip where there is less wood. As Jane said in her comment, maybe attaching them to wire it would be easier to create a ball shape....but then, she said she tried and they don't come out nice so I wouldn't want to waste my time.......
 I made more things with polymer clay but it will not be me to show you those, but it will be Jennifer whenever she will get her package!! If I show you what I made I will ruin her surprise and I have already shown the berries cheesecake!
In these last 2 days I have been going around blogs to see what you have been doing and I'm getting there in visiting you all. I'm a good girl!! :) Just have a bit of patience and I'll reach you all!

The giveaway this month is a dolls house. You will receive the dolls house in pieces and then you will have to build it. Obviously I will send the plans to whoever will win the house. This is the house that was featured in the animated movie UP. It has 2  floors and you can paint it and decorated as you most like it and I might even get ideas from you on how to paint mine as I still have to build it!!!!  :)

Everybody can participate. No matter where you live. To participate you have to be a follower and leave a comment.
I will draw a name on the evening of the 1st of May. I'm choosing this date because my family is coming over to visit me and I will ask my beloved sister to pick out a name.

Good luck to all of you!!

Front of the house


Side of the house

Design from the plans.


Friday, 21 March 2014

Berries, Macaroons and Plates

Hi everybody! I am so sorry that I have not been blogging for so long but as my sister is sick and we live in different countries, I had to help her with some things so I had to travel and also, I need to go back to work so I have been doing a lot of interviews with companies and job agencies.
I have to say that I did miss to read all of your posts guys!! I always enjoy to see what you create and how you create and I will do my best to see what you have been up to by coming to your blog and commenting.

I have been doing some items with polymer clay and I wanted to ask you all what's your method of making blackberries and raspberries. I use a method that I read in one of Angie Scarr book where you make some molds with super tiny beads glued to a toothpick and I wanted to know if there was another method of making really small fruits.
For those of you that don't know this method or don't have Angie's book, I'm going to post below the steps to make them.


This is how the blackberries and raspberries come out.

First step: Put some tiny, no holes beads, in a container.

Put some glue (I used superglue) on the tip of the toothpick and then put the toothpick in the container with the caviar beads. They will attach to the tip of the toothpick.

Prepare your mold material and once ready just put the tip inside the mold. Don't make the mold too small or it will be impossible to bend the mold when you need to remove the berry from the inside. Wait until the mold material is dry and remove the toothpick.

Prepare some colors for the berries.

Now, with a toothpick, get one drop, and I mean 1, bend the mold a bit and put the drop inside the small hole. Try to move the liquid around with the toothpick otherwise you will have pockets of air that will ruin the berries. Once you do that, you might see the liquid go further down, so just add another small drop to fill the mold. 

Put them in the oven and once cold just bend the mold to remove the berries from it. You might need to cut the top, to make the berries shorter.


(Cake idea from Angie Scarr book) - I think they look OK but I wanted to know how you can make them rounder, still being very very tiny.
Now, how do you make yours?? 


I also made some macaroons and I wanted to know which shape you prefer or you think it's closer to the real macaroons.
A, B or C?


I also made some plates with paper clay. I was looking for an heavier and less plasticky material than polymer clay and I have to say that I like plates made with paper clay more than polymer clay. They feel better (for me!!!) and sanding this clay it's a joy!!!! Very easy, very quick.
These are 2 of the plates I made with paper clay. I used metal plates to get the shape and then I sanded them. The 2 plates you see in this picture, are just out of the metal plates and then need to be sanded. I'll show you how they came out as soon as I paint them.

I found the dolls house I was talking about while I was preparing some boxes to send to Italy. You might wonder why I'm going to give away a dolls house.... well.... I have 2, the same, which were bought by mistake. Actually I bought one meanwhile somebody knew I wanted this dolls house, bought another one for me. The person that bought it for me didn't know that I had already bought one, so I'm going to give one away! I just need to put all the pieces together and then I will post the giveaway.

Sorry again for my long absence. I did miss you all and I'm looking forward to see what you have been up to. Big hugs to all of you!!


Saturday, 1 February 2014

Jan Giveaway Results

Thanks a million to all the people that participated in my first giveaway.
I would have loved to have 75 sets to give to all of you but unfortunately I don't. If you haven't won this time, don't despair!! I will have more giveaways and one of those is going to be a doll house!!

So, for this giveaway I cut all the comments from you lovely people
 and I asked my partner to pick out 7 pieces of paper. The ones below are the names he picked.
Of these 7, I asked him to pick one and the winner is:
                                                                    BiWuBar

Please, contact me at thetravellingcat@gmail.com with your full name and address and I will post this out to you.

Thanks again to all participants and probably for the next giveaway I will offer more than one gift....I felt too bad having to pick only 1 person out of 75......  : (

PS  As I said already, I'm following back all the new followers but if for some reason you don't see me between your followers, then please send me an email with your link and I will be happy to follow you.

Wednesday, 29 January 2014

Tiny Bears

Hi everybody!! Welcome to all new followers! I think I am following back all of you but if you don't see me between your followers, then, please, let me know and I will be happy to follow you! Sometimes it's not too easy to find your blog through your Blogger account.
I am in the middle of making lots of roof tiles for my needle felted house and as I was a bit tired of felting the same thing over and over, I decided to make some little bears. I wanted to make a very tiny bear so I made the first one and it wasn't tiny enough.....so I made another one and this one too, it wasn't tiny enough for me....so I made a third one.....the pink one....I would say that one is tiny enough...just 2 cm.
I will add glass eyes as soon as I get them. I order my glass eyes from Germany and they should be here pretty soon! I couldn't wait to post!!  :) Hugs to all!


Tuesday, 14 January 2014

Needle Felted House Tutorial: Part 3 - Adding color and decorations to the house

Hello!!! I would like to welcome all the new followers and thank you all for participating in my giveaway. I'll have a look at my new followers' blog very soon. I just haven't had time recently to do much!
In this part of the tutorial I added color to the walls, to the door and the windows. I added a brown border to the door entry and the window frame. I also made a small lamp to add to the front of the house and I felted a pot on one side of the walls of the house. I will make some roof tiles  to apply to the pieces I made for the roof in my next and hopefully last part of the tutorial with needle felting. I hope to have time to make some polymer clay stuff on time for Valentine's.


I started by putting some color on the walls of the house. I chose yellow but obviously, you can chose whatever color you like.

Here I got some wool and I covered the front wall.

I started to felt and I added more wool as needed to cover weaker spots.

I did the same thing with the back wall and covered it with yellow wool.

Important!!! When you attach colored wool to an already felted piece, DO NOT keep the needle straight as in this picture,

but keep it always oblique, otherwise the colored fibers will show up on the other side of the piece! The wool will felt just as well if you keep the needle obliquely.

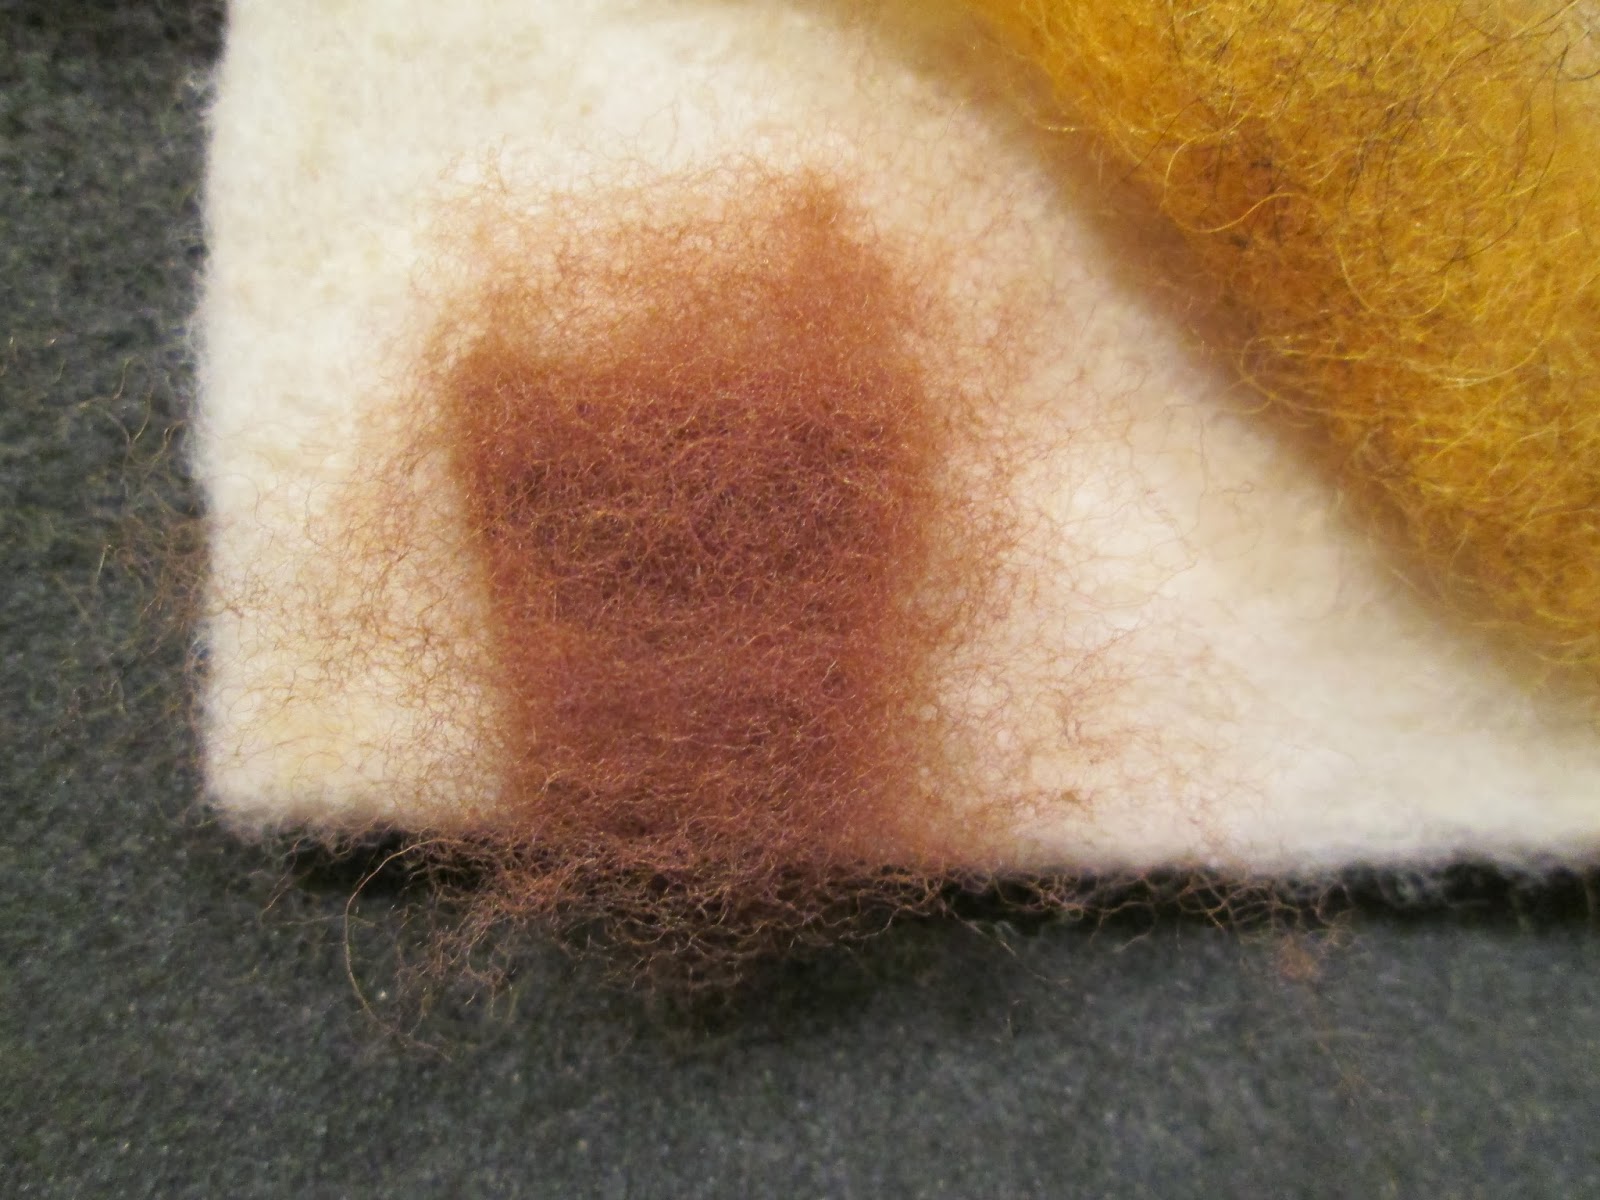
Here I got some wool to make a brown border on the front door.

I rolled the piece,

I put it against the frame of the front door 

and I attached it with pins to keep it from moving.

I started to felt the middle, inside part first.

Then I moved to felting the front border.

As I wanted a thicker border I added more wool.

I felted the wool in place

and I felted, felted and felted until the border was to my liking.

Next I got the white piece of wool I made for the door and I covered it with brown wool.

I covered and felted the piece until ready.

I did the same for the shutters and added some brown wool and felted them until ready.

To attach the shutters and the door I needed hinges, which I already made in my previous tutorial but as they came out a bit too thick I decided to make new hinges: thinner and a bit longer. On the left side you can see the hinge finished and on the right is the starting piece required to make this type of hinge.

So, I started out felting a small, rectangular piece of  black wool.

I jabbed right in the middle to create a heart shape.

Then I rounded the corners of the rectangular, just by jabbing on top of them.

Once I rounded both corners, I re jabbed in the middle to highlight the heart shape.

Then I moved to the side of the "heart" and jabbed to give an indent on both the left and right side.

I continued to felt on the sides until I got a rounded shape.

Once happy with the top shape, I moved to felt the sides of the hinge.


Hinges attached on the front door. I attached the hinges by putting the hinges on top of the door and felting them in place.

Hinges attached on the back window. The top ones are shorter than the bottom ones (purposely done).

And the hinges hold perfectly!


Next, I wanted to put some decorations on the external walls, so I decided to make a pot with a climbing plant coming out of it and maybe going around the walls of the house. So I felted a small rectangular as the top of the pot.

Then I added more wool and felted the bottom of the pot. Don't worry if it doesn't look too right now! It will!

Once I had a basic shape, I added more wool to make the pot thicker.

I entered all the loose wool right under the pot...not under the white wool  :)

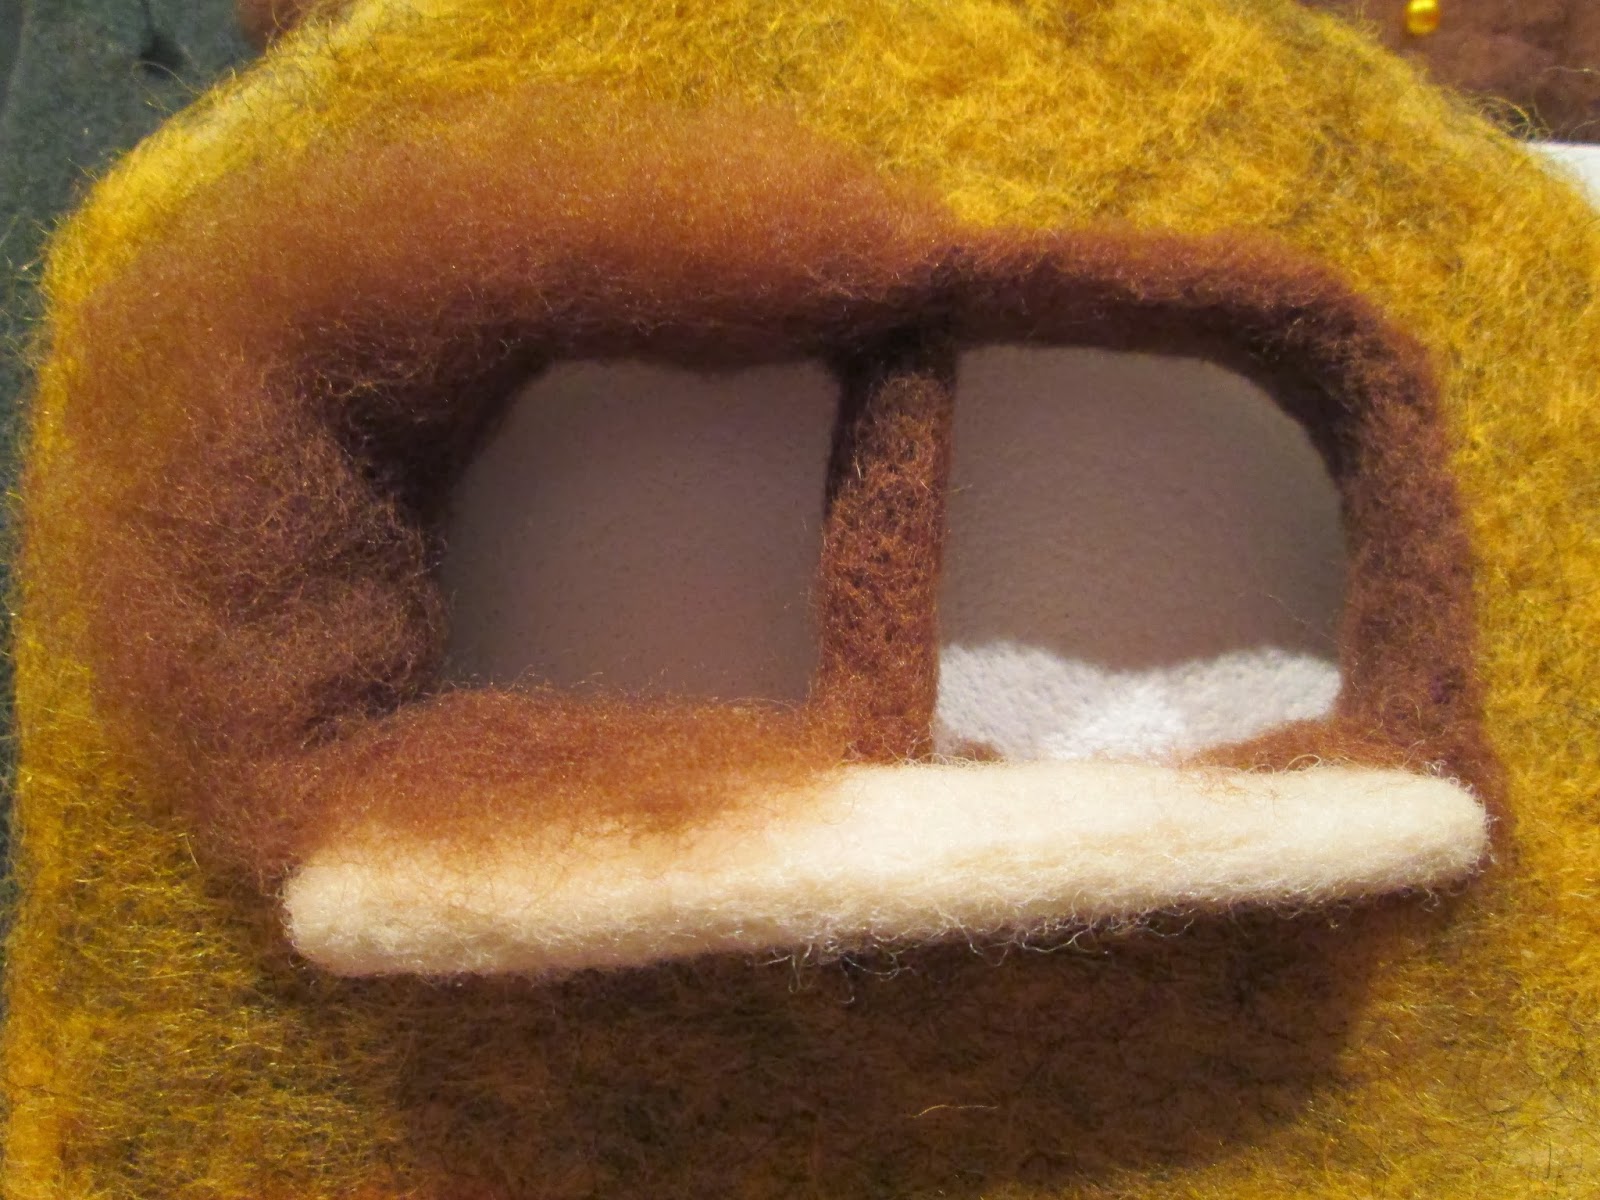
Next, I moved to cover the window, the frame and the shelf with brown wool.

I got a wisp of wool and attached it to the middle of the window, to cover the middle section of it.

Then I got a piece of wool long enough to put it around one of the window frame.

I put the tuft of wool all around one part of the frame to see if it was long enough.

I put some pins to hold the piece in place on the front.

And on the back side of window.

Once in place, I started to felt on the inside border.

I felted all around the this side of the frame.

Once done with one side, I did the same to felt the other side of the window frame.

I put the wool on the inside of frame and I fixed it in place with pins.

I felted the frame starting from the inside part.

To felt all around the frame, I just tuck in the wool with the needle,

and I felt it in place.

As the frame was too small once felted, I added more wool to make it thicker.

Once done I cleaned all the frame by felting a bit more all around.

To cover the window shelf, I took a wisp of wool, and put it on the top of it.

I started to felt until all wool was in place.

I did the same for the bottom part of the shelf. I put some wool and felted it.

To make the shelf nice and clean, I took some cardboard and cut 2 thin pieces almost of the same measurement as the shelf.

I held the shelf between the 2 pieces of cardboard and felted all over to make the piece cleaner and more defined. 

That's the back side all finished and clean.

And that's the front side, finished and clean.

I decided to add a very small window to one of the side walls....unfortunately that's how I am...I start something but I never know how this "something" is going to proceed...I might do something, then change it and then change it again if I don't like it. And I keep adding things which make my work NEVER ENDING!!!  :)  :)

I got a pair of scissors and cut all around to make a small, square opening.

I just imagined a small square and cut around it.

Then I added a brown border as I did for the bigger windows.

I always start felting on the inside, to keep the piece of wool in place.


Once I felted the inside of the small window, I added more wool to make the frame larger.

I felted the first 2 sides of the frame.

And then the other 2 sides.

And this is the small window finished. I just need to make a very small shutter to attach on the inside of the window.

Next I put some green, some plants on the pot. I took a wisp of wool,

attached the bottom to the pot and I twisted the wisp of wool between my fingers.

After twisting the wool, I felted it in place with the needle.

I added more twisted, wisps of wool to make the plant bigger and fuller and felted these "branches" into place.

Starting from the bottom, I felted all the way up to the top of the branch.

I also put some branches on the side of the wall with the window. I wanted a climbing plant that it goes from the wall with the pot, to the next wall with the window. 

I also took some wisps of wool, rolled them into spikes between my hands, attached some leaves and then felted the branch into place, on the wall of the house.

To make branches with leaves, I took a wisp of wool and rolled it between my hands. With a pair of scissor I cut the leaves shapes from a felted sheet and then I felted them on to the rolled wisps of wool.

Here I am attaching one leaf to the branch.

And this is the branch finished that I can now attach in any place on one of the wall.

Once I made a few branches, I attached them to the wall, on top of the window and on the sides.

This is the plant and a side view.

This is the side with the window and open shutters. The shutters open and close as the front door.

A corner view of the house momentarily closed with pins. I will not felt the house closed in place until I make all decorations on the inside walls. This piece of branch, not felted, will be done when I will felt close the house.

A top view of the inside with open shutters.

A front view with the lantern I made.

Front view with open door.

Corner view with open door.

Other corner view.

Final corner view. As said above, I will felt in place this branch not felted when I will be ready to felt close the house. Next step will be the roof. I will felt many roof tiles to attach to the 2 pieces that I have already felted for the roof.

Bye bye everybody!!!!