Hello!!! I would like to welcome all the new followers and thank you all for participating in my giveaway. I'll have a look at my new followers' blog very soon. I just haven't had time recently to do much!
In this part of the tutorial I added color to the walls, to the door and the windows. I added a brown border to the door entry and the window frame. I also made a small lamp to add to the front of the house and I felted a pot on one side of the walls of the house. I will make some roof tiles to apply to the pieces I made for the roof in my next and hopefully last part of the tutorial with needle felting. I hope to have time to make some polymer clay stuff on time for Valentine's.
I started by putting some color on the walls of the house. I chose yellow but obviously, you can chose whatever color you like.
Here I got some wool and I covered the front wall.
I started to felt and I added more wool as needed to cover weaker spots.
I did the same thing with the back wall and covered it with yellow wool.
Important!!! When you attach colored wool to an already felted piece, DO NOT keep the needle straight as in this picture,
but keep it always oblique, otherwise the colored fibers will show up on the other side of the piece! The wool will felt just as well if you keep the needle obliquely.
Here I got some wool to make a brown border on the front door.
I rolled the piece,
I put it against the frame of the front door
and I attached it with pins to keep it from moving.
I started to felt the middle, inside part first.
Then I moved to felting the front border.
As I wanted a thicker border I added more wool.
I felted the wool in place
and I felted, felted and felted until the border was to my liking.
Next I got the white piece of wool I made for the door and I covered it with brown wool.
I covered and felted the piece until ready.
I did the same for the shutters and added some brown wool and felted them until ready.
To attach the shutters and the door I needed hinges, which I already made in my previous tutorial but as they came out a bit too thick I decided to make new hinges: thinner and a bit longer. On the left side you can see the hinge finished and on the right is the starting piece required to make this type of hinge.
So, I started out felting a small, rectangular piece of black wool.
I jabbed right in the middle to create a heart shape.
Then I rounded the corners of the rectangular, just by jabbing on top of them.
Once I rounded both corners, I re jabbed in the middle to highlight the heart shape.
Then I moved to the side of the "heart" and jabbed to give an indent on both the left and right side.
I continued to felt on the sides until I got a rounded shape.
Once happy with the top shape, I moved to felt the sides of the hinge.
Hinges attached on the front door. I attached the hinges by putting the hinges on top of the door and felting them in place.
Hinges attached on the back window. The top ones are shorter than the bottom ones (purposely done).
And the hinges hold perfectly!
Next, I wanted to put some decorations on the external walls, so I decided to make a pot with a climbing plant coming out of it and maybe going around the walls of the house. So I felted a small rectangular as the top of the pot.
Then I added more wool and felted the bottom of the pot. Don't worry if it doesn't look too right now! It will!
Once I had a basic shape, I added more wool to make the pot thicker.
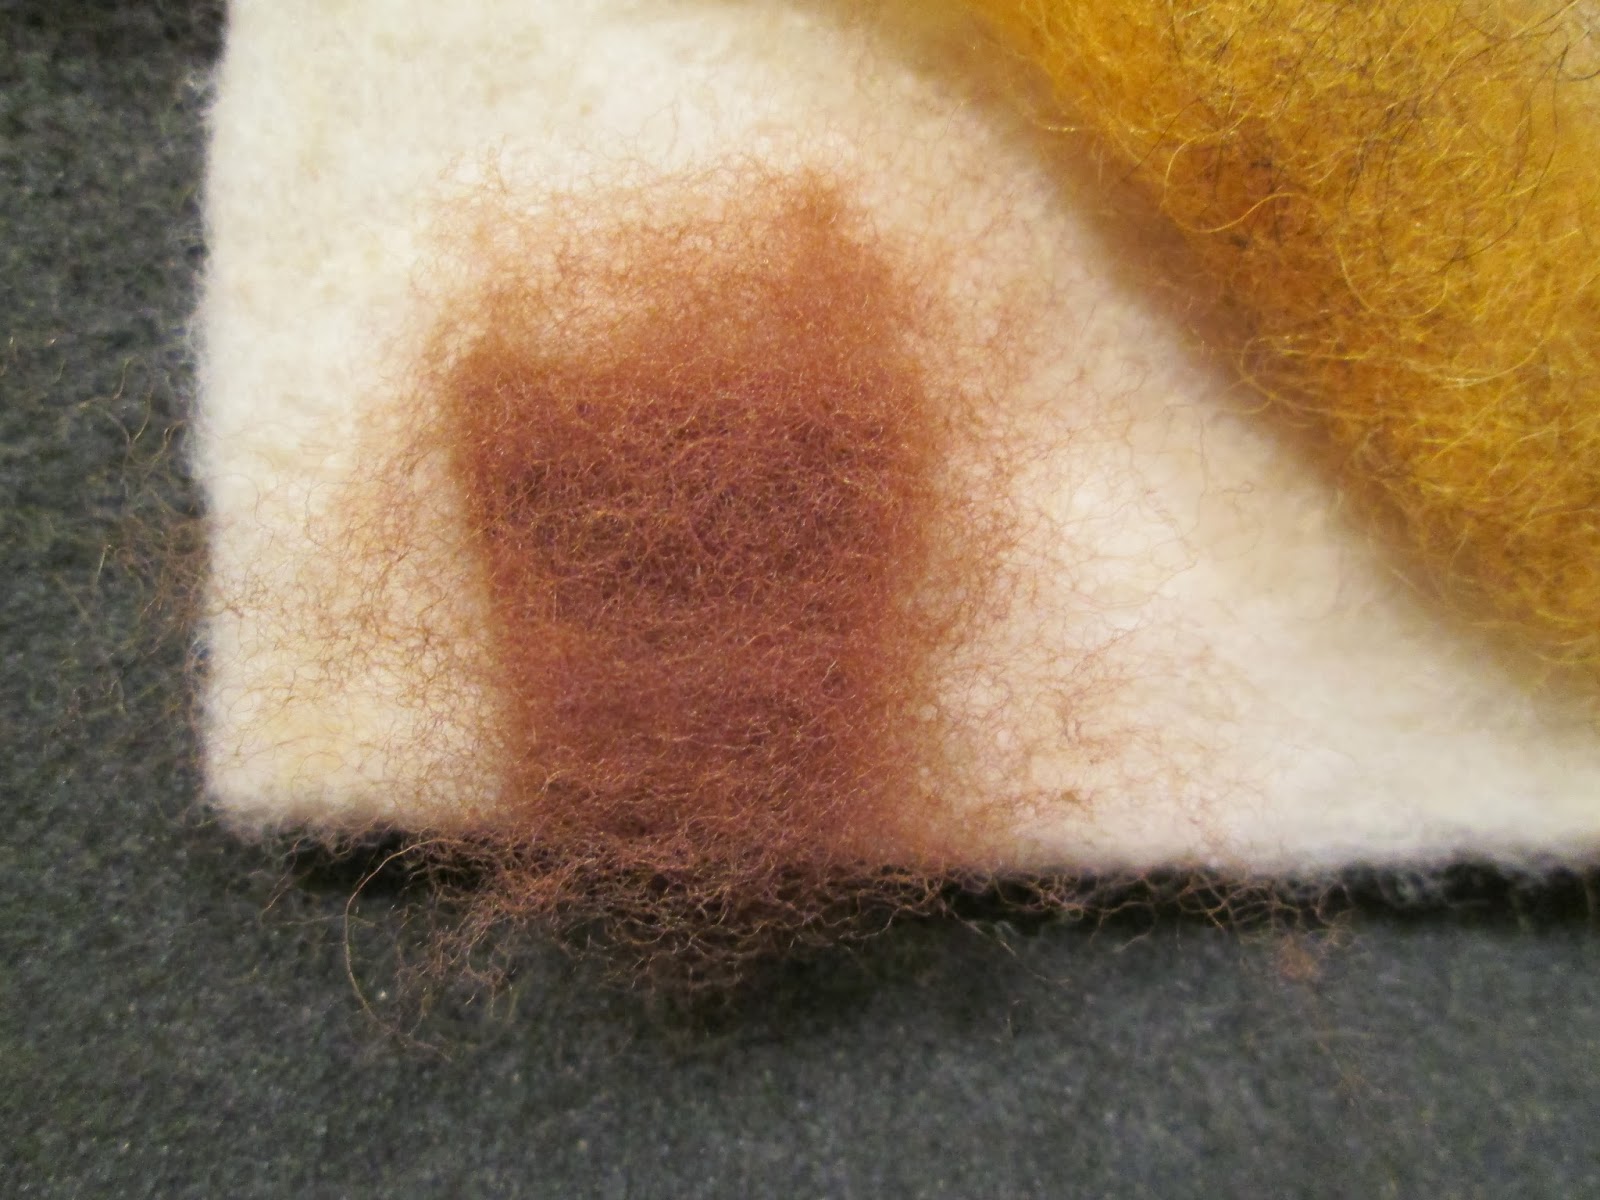
I entered all the loose wool right under the pot...not under the white wool :)
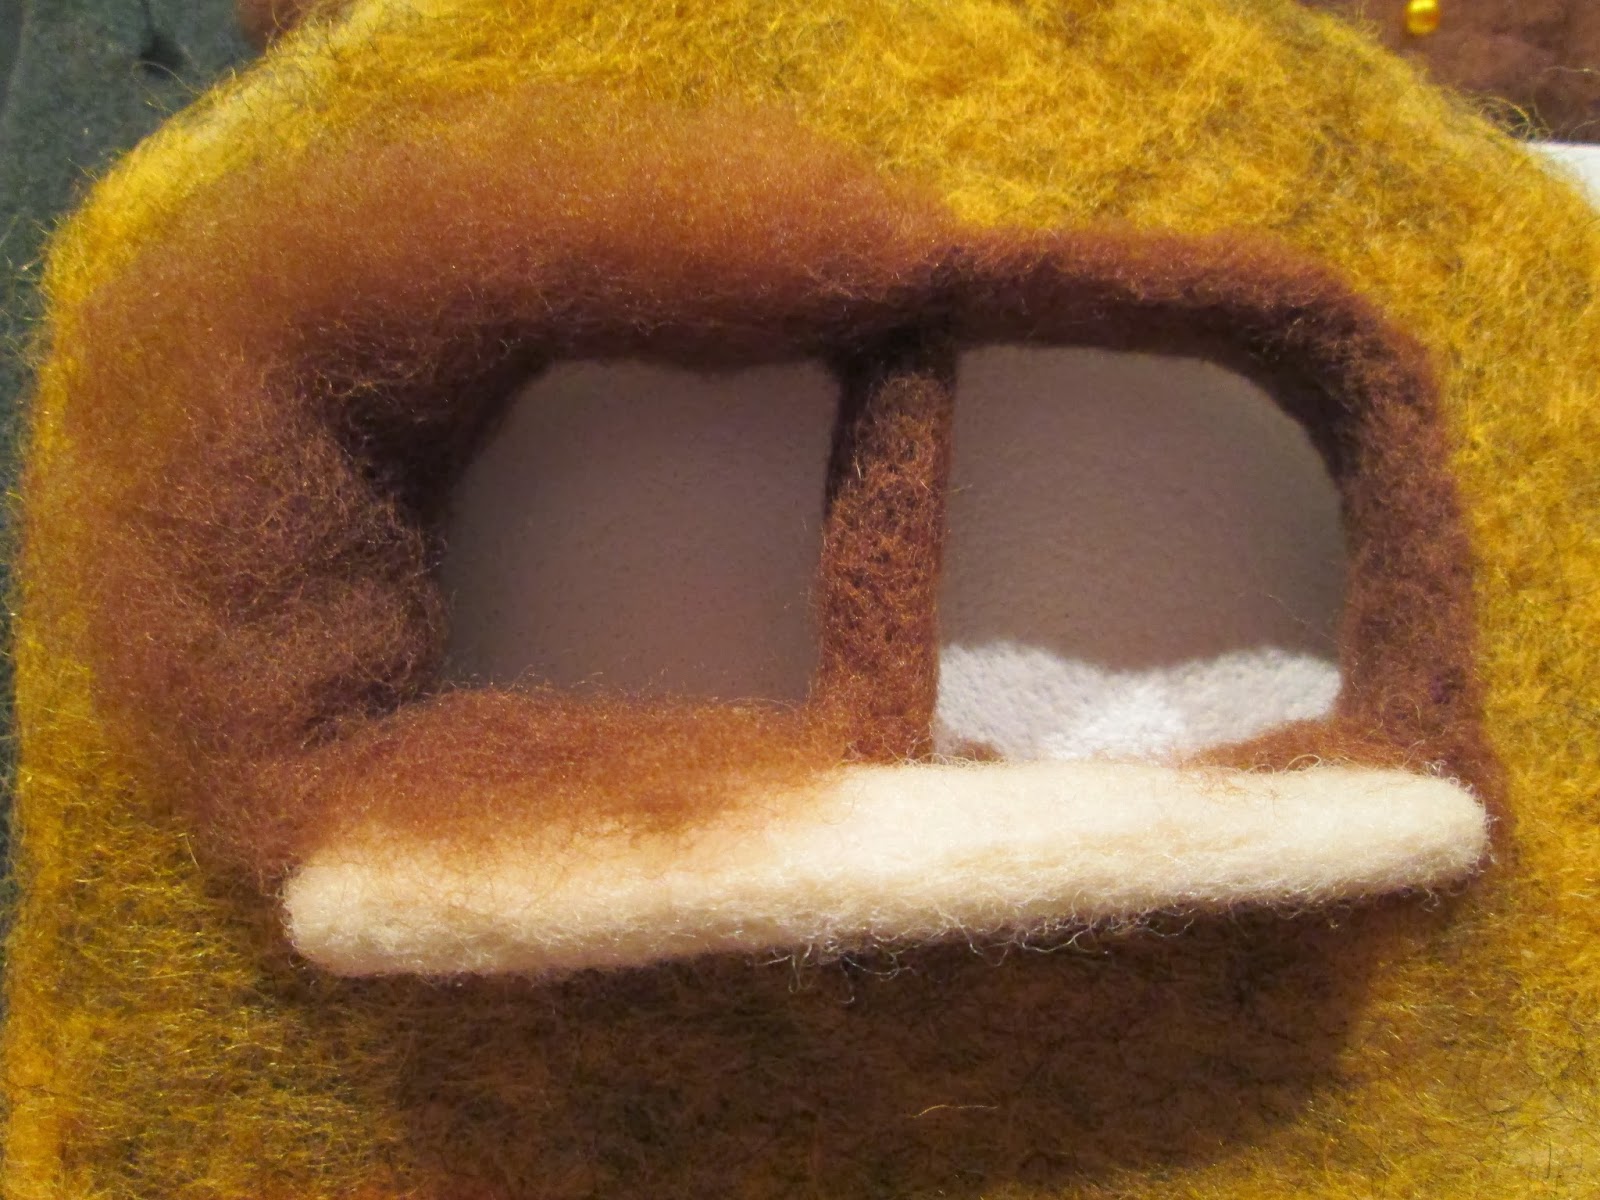
Next, I moved to cover the window, the frame and the shelf with brown wool.
I got a wisp of wool and attached it to the middle of the window, to cover the middle section of it.
Then I got a piece of wool long enough to put it around one of the window frame.
I put the tuft of wool all around one part of the frame to see if it was long enough.
I put some pins to hold the piece in place on the front.
And on the back side of window.
Once in place, I started to felt on the inside border.
I felted all around the this side of the frame.
Once done with one side, I did the same to felt the other side of the window frame.
I put the wool on the inside of frame and I fixed it in place with pins.
I felted the frame starting from the inside part.
To felt all around the frame, I just tuck in the wool with the needle,
and I felt it in place.
As the frame was too small once felted, I added more wool to make it thicker.
Once done I cleaned all the frame by felting a bit more all around.
To cover the window shelf, I took a wisp of wool, and put it on the top of it.
I started to felt until all wool was in place.
I did the same for the bottom part of the shelf. I put some wool and felted it.
To make the shelf nice and clean, I took some cardboard and cut 2 thin pieces almost of the same measurement as the shelf.
I held the shelf between the 2 pieces of cardboard and felted all over to make the piece cleaner and more defined.
That's the back side all finished and clean.
And that's the front side, finished and clean.
I decided to add a very small window to one of the side walls....unfortunately that's how I am...I start something but I never know how this "something" is going to proceed...I might do something, then change it and then change it again if I don't like it. And I keep adding things which make my work NEVER ENDING!!! :) :)
I got a pair of scissors and cut all around to make a small, square opening.
I just imagined a small square and cut around it.
Then I added a brown border as I did for the bigger windows.
I always start felting on the inside, to keep the piece of wool in place.
Once I felted the inside of the small window, I added more wool to make the frame larger.
I felted the first 2 sides of the frame.
And then the other 2 sides.
And this is the small window finished. I just need to make a very small shutter to attach on the inside of the window.
Next I put some green, some plants on the pot. I took a wisp of wool,
attached the bottom to the pot and I twisted the wisp of wool between my fingers.
After twisting the wool, I felted it in place with the needle.
I added more twisted, wisps of wool to make the plant bigger and fuller and felted these "branches" into place.
Starting from the bottom, I felted all the way up to the top of the branch.
I also put some branches on the side of the wall with the window. I wanted a climbing plant that it goes from the wall with the pot, to the next wall with the window.
I also took some wisps of wool, rolled them into spikes between my hands, attached some leaves and then felted the branch into place, on the wall of the house.
To make branches with leaves, I took a wisp of wool and rolled it between my hands. With a pair of scissor I cut the leaves shapes from a felted sheet and then I felted them on to the rolled wisps of wool.
Here I am attaching one leaf to the branch.
And this is the branch finished that I can now attach in any place on one of the wall.
Once I made a few branches, I attached them to the wall, on top of the window and on the sides.
This is the plant and a side view.
This is the side with the window and open shutters. The shutters open and close as the front door.
A corner view of the house momentarily closed with pins. I will not felt the house closed in place until I make all decorations on the inside walls. This piece of branch, not felted, will be done when I will felt close the house.
A top view of the inside with open shutters.
A front view with the lantern I made.
Front view with open door.
Corner view with open door.
Other corner view.
Final corner view. As said above, I will felt in place this branch not felted when I will be ready to felt close the house. Next step will be the roof. I will felt many roof tiles to attach to the 2 pieces that I have already felted for the roof.
Bye bye everybody!!!!