In this part of the tutorial, I am going to add a window, shutters and the door to the already felted house base that I did in the first part of this tutorial. Unfortunately I don't know the total grams of wool that I used to do these 5 pieces. I usually don't weight the wool, but in my first tutorial I had an electronic scale and I did get the grams of every piece to make things easier for people that don't have a clue of how much wool to use. I don't have the scale anymore but I'm looking for another one so that I can start weight the wool I use and state how much I use for each piece. For the moment....sorry!! Anyway, one of the beauty of wool, is that it's very easy to fix things. You can always add or remove what you have felted to/from a piece. So, when you don't know the exact weight of something, just start with a little bit and then add more wool as needed.

Materials I used:
Core wool
Multineedle Pen,
Spiral Needle 40 gauge
Star needle 38 gauge
Triangular needle 40 gauge
Triangular needle 32 gauge
Foam pad
Empty box of cereal (to cut out shapes)
Lots of patience
.JPG)


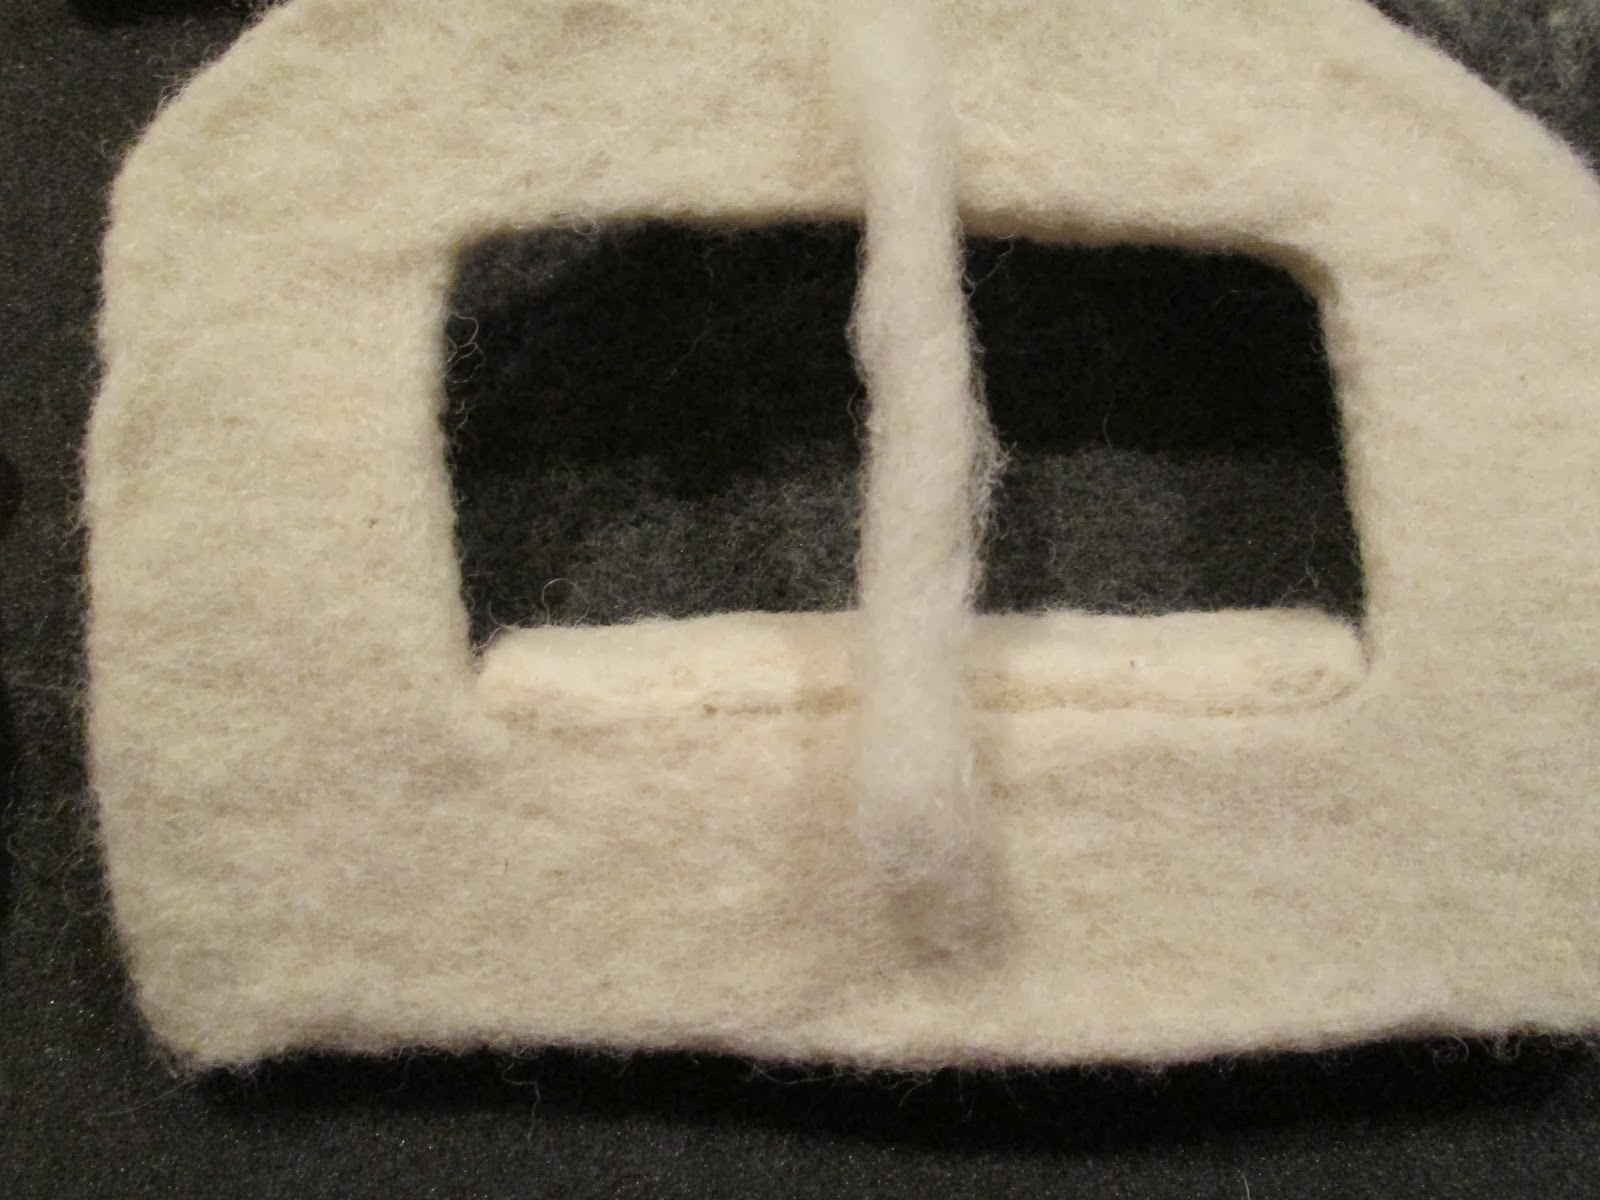
I did clean all edges by putting the piece in the middle of 2 cards (see here) and felt all sides especially the longest sides because I want to make a small shelf and I needed the piece to shrink a lot.

You can also clean the edges by putting the piece on your foam mat and jabbing all sides. I usually start with a 40 g triangular needle, then move to the 38 g star needle and finally I use a 40 g spiral needle.

When I thought I reached the measurements I needed, I tried the shelf on the back wall of the house to see if it fitted. As you can see from the picture, my shelf still need a bit of felting on the right side as it is a bit too long.

Now, I have it of the right size and ready to be attached to the window.

With a strong, thick needle, 32 g, I attached the shelf by putting it on the bottom side of window and by jabbing to attach both pieces together.

To make sure that the shelf won't fall out, I attached some wool on the outside part of the shelf, to give some support.

To do the shutters, I took the same rectangular piece I used to make the window (5cm x 8cm) and I cut a small piece of carton to put it in the middle and separate the 2 shutters.

Every now and then I would measure the shutter on the window so see how much still I have to felt to make them of the right size.

Here are the two shutters almost ready.

This is a front view with shutters on.
Now, I want to add a little piece right in the middle of the window to separate the 2 shutters. So I got a small piece of wool, I put it between my hands and rolled it a little bit.

Then I measured it on the actual window and started to felt it very small and tight.

Piece ready to be felted on the window

Here I attached momentarily the shutters with pins so I can see how the small piece will fit on the other side of the window.

It does look OK to me, also the right size, so I'm ready to attach it.

Here I am attaching the top side with a thick needle, 32 g.

Still attaching the top side.

Then I moved and felted the other side, next to the shelf.

Here I am finishing to attach the center of the window frame.

Here is the finished frame from a front view.

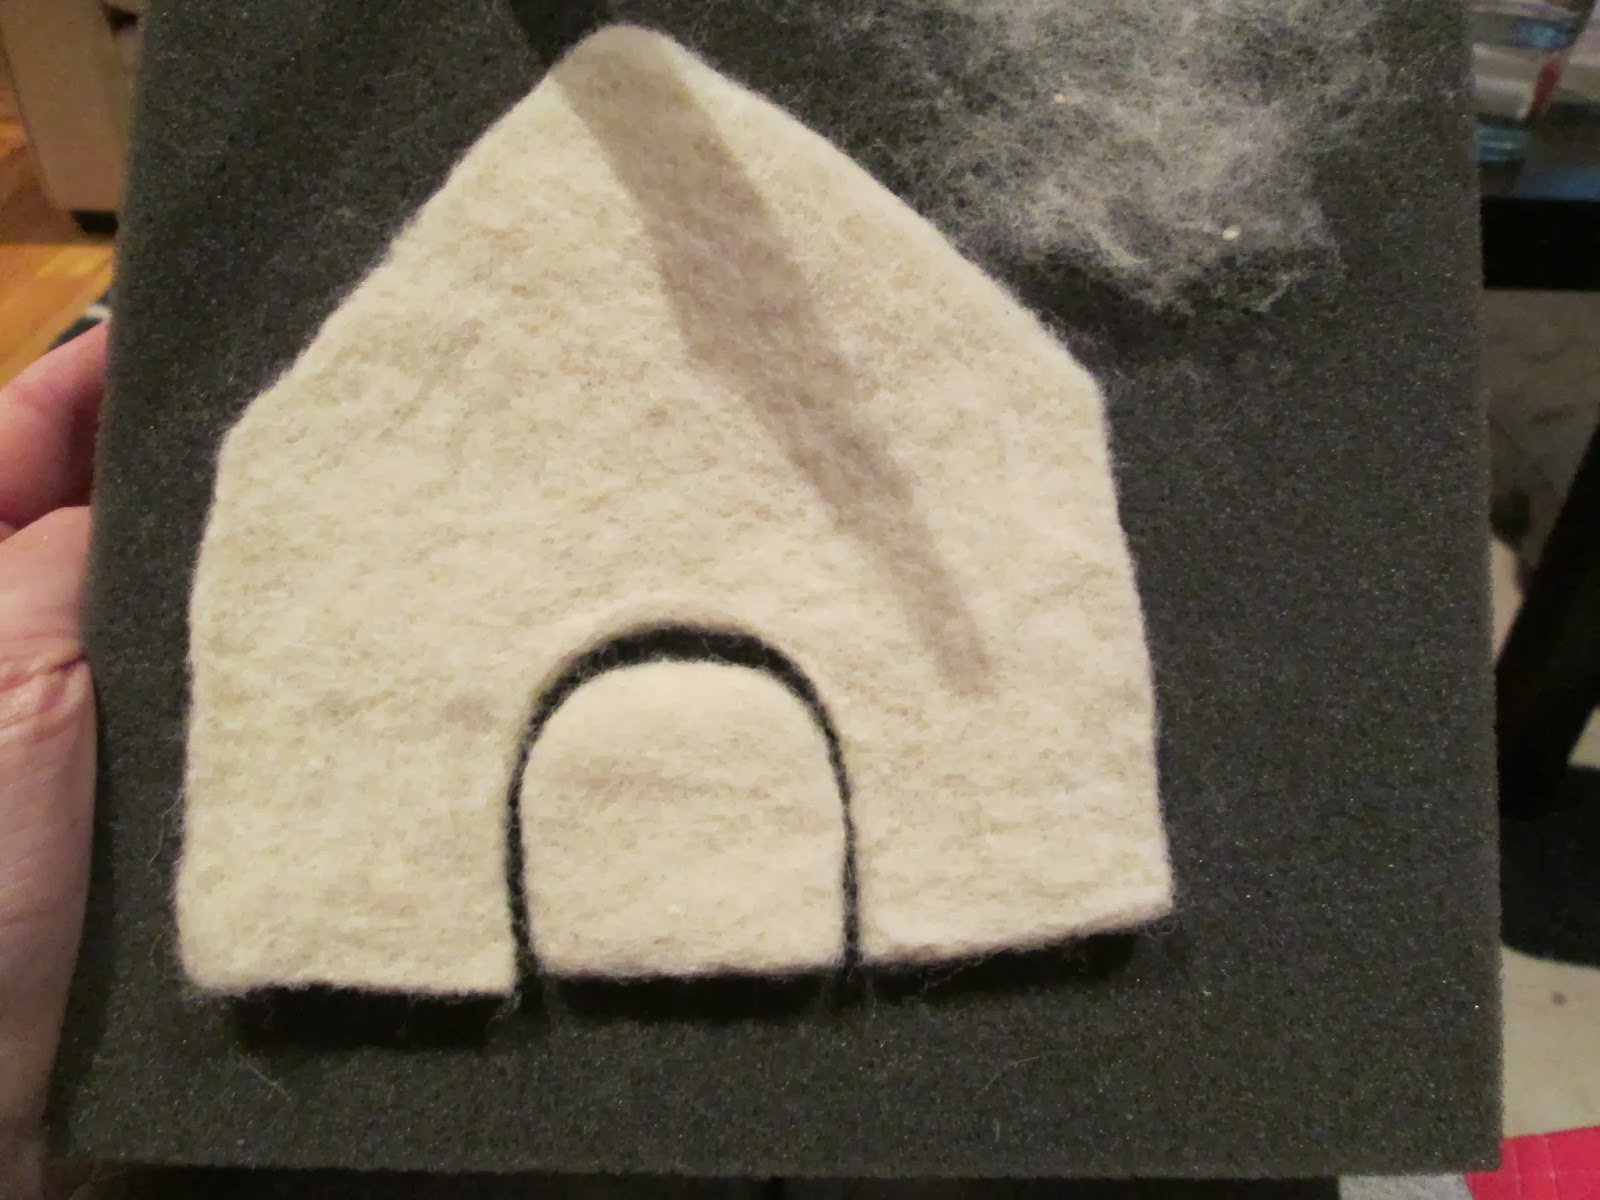
As usual, I used a thick needle to start felting, moving then to a 38 star and a 40 spiral. The door seem a bit small but because I still need to cover it with colorful wool and it will grow in volume, then it's fine as it is.
I need some hinges to keep the shutters in place and I've decided to make them fancy instead of making them with a simple, rectangular shape :)
This is how I made them:


I put them one on top of the other like in the picture.

I folded the end tip back on itself to the center and did the same for the other tip.

I now have a heart shape.

I felted right in the middle to give even more a shape of a heart.

I felted on all sides until the heart became very small.

If you have problems felting a small item because it moves around, you can put a pin to hold it in place. I make another heart shape as I needed 2 hinges.

The heart on right side still need more felting to make it smaller. Meanwhile I made the other heart.

I felted right in the middle to keep the heart shape.

I felted all sides between my fingers but I recommend you to do it with the 2 cards if you don't want to stab yourself!

I felted and felted until I got to this shape.


Here I am trying the hinge on the shutter to see if it is too big and if it fits OK.

So, I continued to felt the other hinge until I got to a small heart shape.

Here are the hinges finished and ready to be attached to the shutters.
This is looking so beautiful, and soft! I wish I had a house made out of softness ;( Darn sharp corners everywhere ;P
ReplyDeleteI love the little heart ;)
:) :) :) :) Thank you so much Jane!! Yes, it would be nice to live in complete softness and to be able to throw yourself around without getting hurt!! :)
DeleteIt looks like very hard work but interesting since it's all new to me. I'm pleased to be able to follow your work on the little house.
ReplyDeleteI wish you and yours A Happy New Year!
Hugs, Drora
Hi Drora! I'm so happy you are enjoying the tutorials! Needle felting it's actually very time consuming but when you get the final item then it's all worth! Thanks again for posting here!! Big hug back at you!
ReplyDeleteThanks for showing how you're needle felting a house--great detail! I've only made Flossy, Sophie, Bluebelle, and a gnome. It would be fun to make a needle felted house for some of my Sylvanian Families! xo Jennifer
ReplyDeleteI love your characters Jennifer!!! They are very lucky to live with you because you always create such nice, funny stories for them....I'm sure they love their lives!!!! And I love your items!! Kisses!!
Delete